35 days had gone by since I decided to do this build. With a lot of help from my friend Sam and my dad, this thing was up and running in time to take it to the Wells Fun Run in Wells, Nevada. But, it still needed a few things. It needed a proper seat, a charging port, and my wagon needed a hitch to tow it with.
Click through for more.
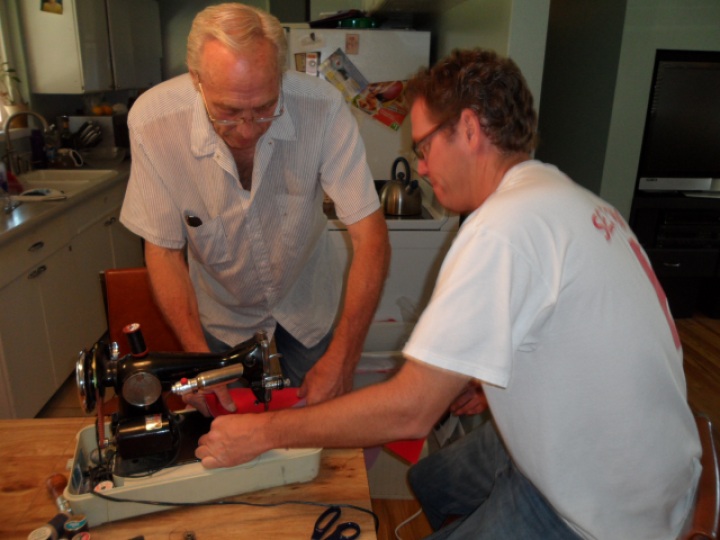
Dad knows how to do everything, so he helped me sew up the upholstery for the seat. We built the seat out of 3/8″ plywood covered with a thin layer of foam and red vinyl. The seat bottom is reinforced with some 1″ x 2″ boards. Basically, we only used the sewing machine to add the ribs in the seat, then we stretched, glued and stapled it to the plywood.
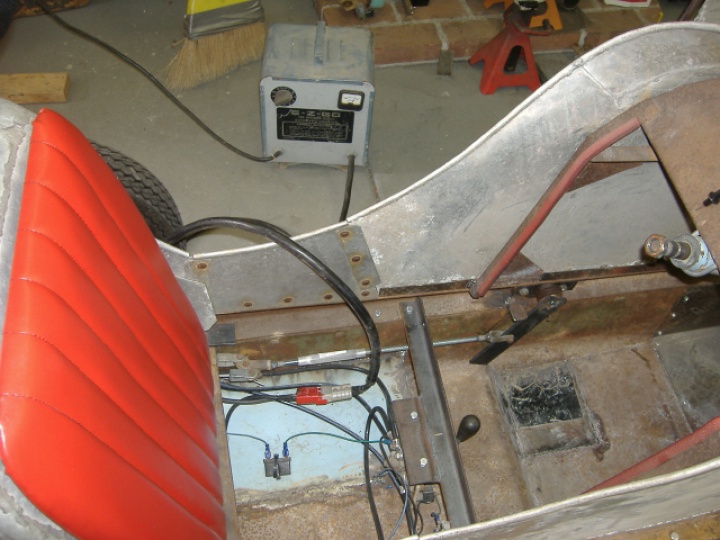
The seat bottom just rests in two cross-members of angle iron and the seat back is held on with Velcro to provide easier access to the rear battery. Under the seat, I added a port for connecting the battery charger. The little black box you see in the photo below is the reverse buzzer, which is pretty handy for selecting the proper direction. At first, it buzzed when going forward since we had reversed the rear axle. That got tiresome quickly.
Later, I added a battery gauge. 36 volt battery gauges are not that easy to find, but eBay came to my rescue.
The above photo shows the volt meter, but it also shows the view under the dash. Note that you can see all the way to the front axle but you can’t really see the batteries. I have had many people (car people) inspect the midget closely and be completely at a loss as to how it works. The batteries are well hidden and the motor is almost completely invisible. Intrigue!
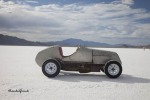
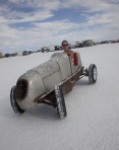
Happily, we made our goal of having the midget ready in time for the Wells Fun Run in Wells, Nevada , July 29-31. We loaded it up and drove west. See the album below for some action shots of that trip and some from Speed Week a few weeks later at the Bonneville Salt Flats. The addition of the baby moon hubcaps came after these two outings and it made a huge difference.
(Photo credit for most of these photos: www.thanks2frank.com – Scott and Courtney Clark, who can both be seen enjoying the midget in the pictures.)
By the way, the trailer that you see the midget on in the pictures above was also my grandpa’s. It’s like it was meant to be.
This ends the midget build story. I hope you have enjoyed it. Thanks again to those who helped with this project!
Scott Ith is an Associate Editor with Hooniverse.com, but he also contributes to his own site NeedThatCar.com. Head over there for more hoony goodness.













Leave a Reply