Now that the golf cart was stripped, I had pretty much all the parts I needed to build this thing. Now the task was just to meld together two different sets of parts that really, let’s face it, have no business being together.
Click through to watch the square pegs neatly fitted into round holes.
(Click for Part 1 and Part 2 if you haven’t been following along.)
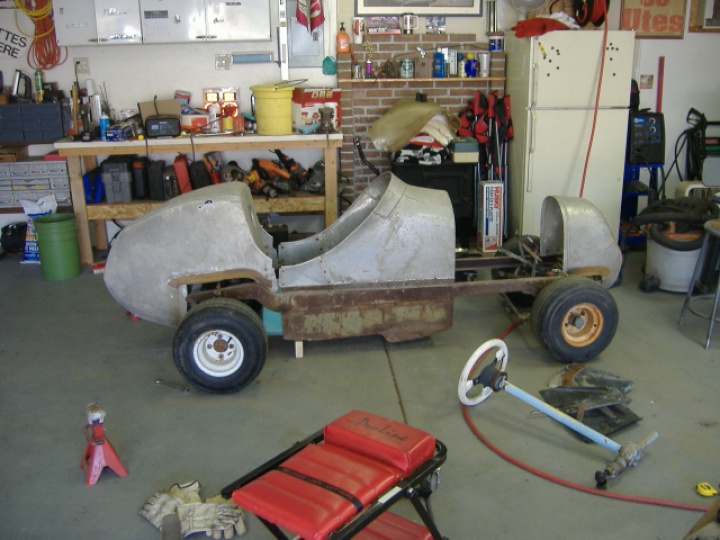
The first thing I did was set the axles in place and prop up the frame and body panels in order to get an idea of where things should go (but mostly to take some cool photos). It looked like the above photo. It is important to mock things up – if only to get an idea of what you are working toward. In my case, the mockup led to a nice discovery.
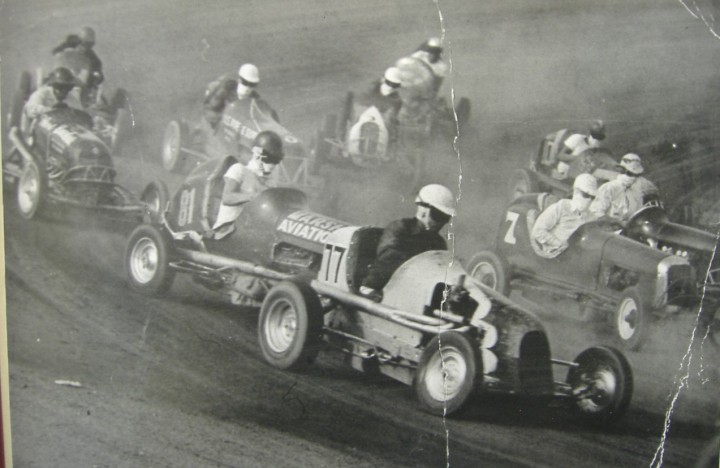
Midgets of this vintage generally used a solid front axle, a transverse leaf spring, and hairpins. Since I wanted to keep the exterior appearance at least somewhat inline with that, I planned on mocking up most of the front suspension from scratch and from an old ’34 Chevrolet front axle I’ve been hoarding for years.
However, in setting up the above mock-up, I discovered that the golf cart front suspension fit pretty well. It just needed to be a little lower. The E-Z-GO design used an interesting combination of a transverse leaf, upper A-arms, rack and pinion, and king pins all mounted to a self-contained steel box.
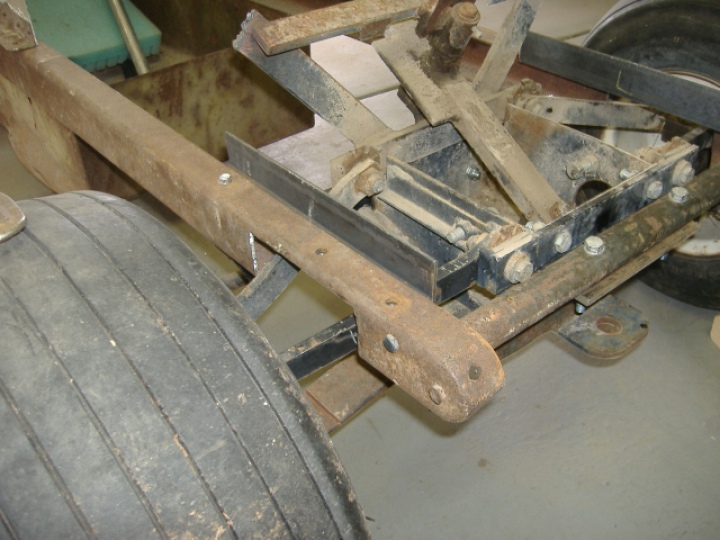
It wasn’t low enough, so we notched the frame rails and gained (or lost) about 2″ of ride height. The frame was reinforced with angle iron. The steering/suspension box is bolted to the front spreader tube and to another angle iron cross member at the back of the box.
In the photos, you see a bunch of random pieces of metal sticking up in the air. Those were mounting/steering items that weren’t necessary, so we cut them out. Here’s an exciting action photo:
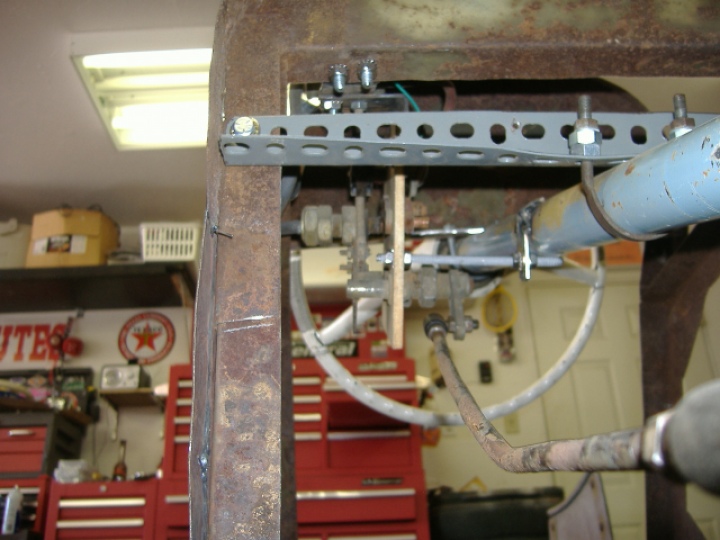
So with the suspension box mounted solidly, all we needed was steering. Grandpa, having worked with the City Parks and Recreation department, had saved a bunch of golf cart parts along the way. One was an extra steering rack:
 We tried several mock-ups and finally came up with this:
Then I mounted up the steering column and welded an Astro van steering u-joint to the rack and everything was great. Great, that is, until I turned the steering wheel left…and the wheels turned right. Oh no! I notice, in reviewing my photos, that I have very few photos of this part of the process. I suppose I was bummed/irritated to be doing that part of the project over. In order to fix it, I had to turn the rack over 180 degrees, cut the steering arm of the hub on the left and weld it to the right. Then, I had figure a new way to mount the rack itself. This was the first setback of the build.
Finally, we just needed a solid steering column. Of course, I used the E-Z-GO steering column with an extension from another steering column I’ve been hanging on to. What to use for a steering wheel? E-Z-GO, of course.
Having actual, working steering was a great milestone. It really motivated me in moving to the next portion of the build.
PS It was sometime during these mock-up stages that the decision was made to not clean up the rust and corrosion. We decided to go with a rat rod look. After all, the car spent 55 years in a crawlspace getting to this state. Its condition is half of the charm of the midget. The rust helps tell the story.
PPS I couldn’t have done this project without the help of my good friend Sam and my dad. That help, along with the patience of my girlfriend, made this whole thing possible.
PPPS You can click on any of the photos in this series to get an extra-large look at the action.
Scott Ith is an Associate Editor with Hooniverse.com, but he also contributes to his own site NeedThatCar.com. Head over there for more hooniganism.


Leave a Reply