3D Printed Car Part

This is what it’s like to make a car part with a 3D printer!

There’s a space in the center stack of my 1991 Mitsubishi Montero that could be more useful than it is right now. It’s a little cubby spot, below another cubby spot, below the radio. Some wise individual out there has already discovered a better use for this space, and they’ve done so thanks to the magic of 3D printing.

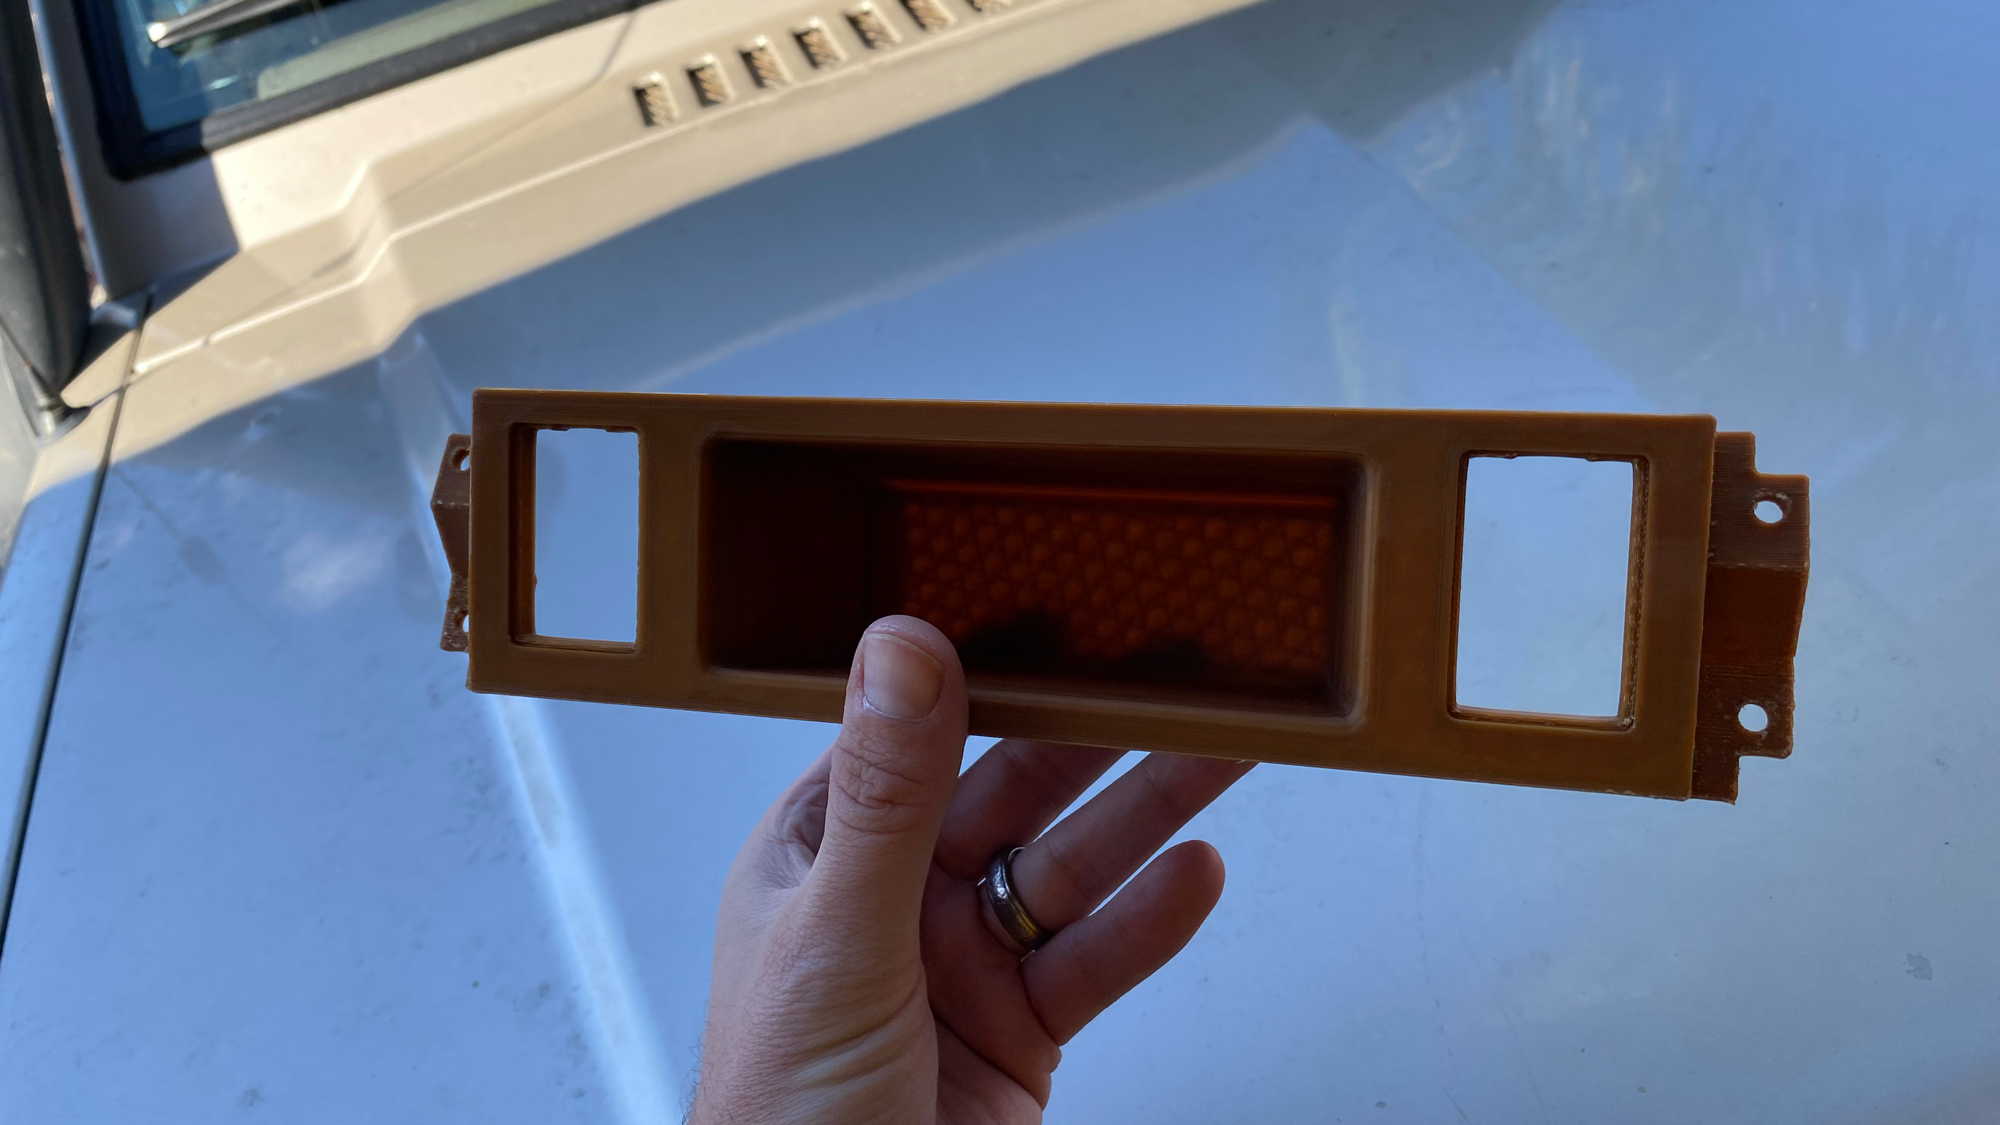
Do you see that lower section in the image above? The spot where the switches sit is typically just blank plastic. Now, you could obviously cut into that piece to make holes for switches if you need to. But I think it’s pretty fun to try out a 3D-printed part. So I had my friend Derek, who has already 3D printed parts for a Subaru Forest project car he owns, fire up his machine and see what he could do.

3D Printed Car Part

The part, while not a perfect color match, fits perfectly. And those slots will soon be home to a pair of switches for some coming goodies for the Montero. Additionally, I have the original piece still too. So if I eventually dislike the color difference, I can always hack up the original part using this 3D printed piece as a template. Or simply paint the 3D printed piece to get it to be a closer match to my interior poo hue.

As far as the printing goes, it took a few hours for each piece. This was printed in two sections as Derek deemed the best use of materials and likelihood of final product success. And he was right. The piece looks and feels great.

3D Printed Car Part

Now, what else can we come up with for cool 3D-printed parts?

Leave a Reply

Your email address will not be published. Required fields are marked *

The maximum upload file size: 64 MB. You can upload: image, audio, video. Links to YouTube, Facebook, Twitter and other services inserted in the comment text will be automatically embedded. Drop files here

5 responses to “This is what it’s like to make a car part with a 3D printer!”

  1. Sjala Wars Avatar
    Sjala Wars

    That must be so satisfying! We have been introducing Star Wars to our kids and I am planning on adding a few switches and lights where the sunglasses go in our Leaf. Flip them, and they should play typical spaceship startup sounds, “all systems go”, TIE fighter sounds and, of course, “This is the way”. My son would love it. Haven’t even started on it yet, but I’ve been thinking a bit and battery powered recordable sound modules are easy to get, flip switches as well. With the chunky interior poo hue of the Montero, you basically have Star Wars aesthetics from the factory, and a 3D printer could do a panel so much more perfectly than a fool with a drill, a saw and some glue – which is my strategy.

  2.  Avatar
    Anonymous

    Love it!

    I’ve put together a mount for my handy 2M radio that velcro straps to my OMG bar on my Gladiator and am always looking for more stuff to print for it. In the older Wrangler Unlimited (which is gone) I had quite a bit of 3D printed stuff going.

    It is really rewarding to be able to say – that part? Yeah, made it. 🙂

  3. smokyburnout Avatar
    smokyburnout

    Years ago I printed a little switch plate so I could install a switch without destroying the original blanking plate, and eventually restore it to stock without any evidence that there had ever been a switch there.

    Of course, now I have no idea where I put that original blanking plate.

  4. OA5599 Avatar
    OA5599

    Nice. I keep considering getting a set of upfitter switches for my truck, but I haven’t thought of anything to run off them yet.

    Maybe for your next 3D fab project you can make a bezel to go around the radio and that cubby immediately below it, to integrate them into the center stack more aesthetically.

    1. Jeff Glucker Avatar
      Jeff Glucker

      I’m going to pull the whole panel and see if I can tighten it up better. I tried to do all this without removing the radio.